
This tutorial was written by Monti on May 3rd 2008. It's concept is copyrighted to Monti. Any creation you make from my ideas are yours. You may print out this tutorial for your own personal use, but please do not copy it in any way to put online, pass out or rewrite without my permission or worse yet attempt to claim as your own.
This was written for psp 9 but will work in other versions.
For this tutorial you will need
Paint Shop Pro
A Mask Of Choice
I used Becky's Mask 022 - Thank you Becky.
Download *Here*. Unzip and then open in PSP.
Brushes of your Choice
A Font of your Choice
I used Scrap Kids which is a pay font so I can unable to supply it.
An Image and - or Tube of your Choice
I am using the wonderful art of Suzanne Woolcott.
Unfortunately Suzanne is no longer selling her work so please use an artist you have permission for.
Ok we are ready to start.
REMEMBER TO SAVE OFTEN
Step 1:
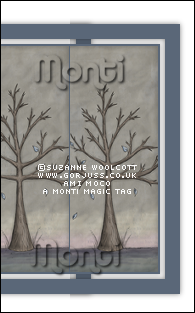
Open a new transparent image 600 x 400 pixels.
Add a new raster layer.
Set your Foreground to a darker colour from your tube.
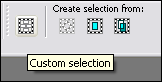
Activate your Selections tool and choose Custom Selection with the settings shown below.
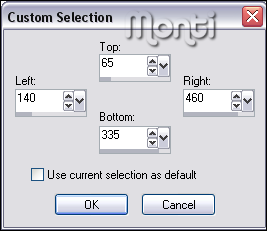
Fill the selection with your foreground colour.
Go to Selections - Modify - Contract - by 15 and press delete on your keyboard.
Go to Selections - Modify - Contract - by 5 and fill with your Foreground colour.
Go to Selections - Modify - Contract - by 2 and press delete on your keyboard.
Deselect.
With your Magic Wand - Feather and Tolerance: 0 - select inside the inner part of the frame and go to Selections - Modify - Expand by 1.
Copy and paste your image as a new layer and move it beneath the frame layer.
Resize and position so the part you want showing is inside the selection.
Go to Selections - Invert and press Delete on your keyboard.
Deselect.
If you are adding a tube onto your background then repeat this step with your tube.
Activate the frame layer and add the following Drop Shadow
Vertical: 0
Horizontal: 0
Opacity: 50
Blur: 8
Colour: Black
Merge Visible.
Step 2:
Activate your selections tool again and choose Custom Selection with the following settings
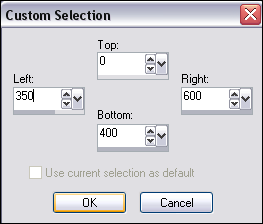
Go to Selections - Promote Selection to Layer.
Deselect.
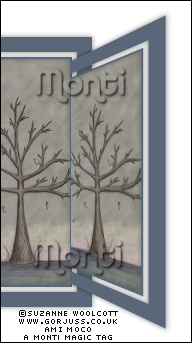
Use your mover tool to move it to the right of the image so it lines up with the edge of the inner frame as shown below.
Activate your Deform tool and hold down the Ctrl key on your keyboard.
Place your cursor on the top left node and move it down so the edge of the frame lines up with the top of the inner frame.
If you are holding your Ctrl key the bottom should up to match the top movement.
Then place your cursor on th top right node and while holding down the Ctrl key pull this up slightly.
If you want to you can use the centre right node to move it in a bit too, until it looks like the one below.
Duplicate this layer and mirror.
Merge Visible.
Step 3:
Add a new raster layer, move to the bottom of the layer palette and fill with a light colour from your tube.
Go to Layers - New mask layer from image and in the drop down box find Beckys mask or apply a mask of your choice.
Once you apply your mask, right click on the mask layer in the layer palette and choose Merge Group.
Activate the top layer and add a new raster layer and add some brushes of your choice.
Activate your text tool with a font of choice. I used Scrap Kids which is a pay font so I am unable to supply.
Set your foreground to a dark colour from your tube and your background to a lighter colour, the size depends on the font used. I had mine at 20.
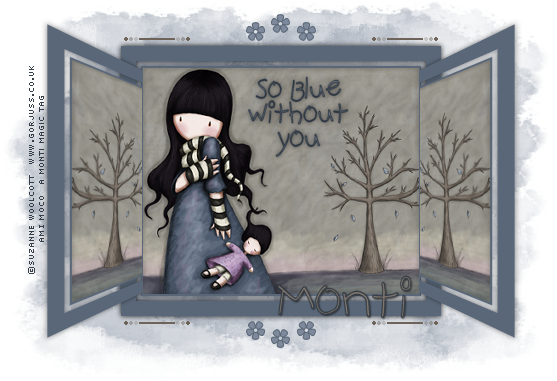
Type out a saying of your choice. I used
"So Blue
without
you."
Add the following Drop Shadow
Vertical: 0
Horizontal: 0
Opacity: 50
Blur: 8
Colour: Black
Add your name using the same font but at a larger size and add the following Drop Shadow
Vertical: 0
Horizontal: 1
Opacity: 50
Blur: 2
Colour: Black
Add the artists copyright and your watermark on a new layer.
Crop to size using Merged Opaque and save your tag.

No comments:
Post a Comment