
This tutorial was written by Monti on September 27th 2006 and reworked on 12th October 2014. It's concept is copyrighted to Monti. Any creation you make from my ideas are yours. You may print out this tutorial for your own personal use, but please do not copy it in any way to put online, pass out or rewrite without my permission or worse yet attempt to claim as your own.
This was written for psp 9 but will work in other versions.
For this tutorial you will need:
Paint Shop Pro
Eye Candy 5 Textures
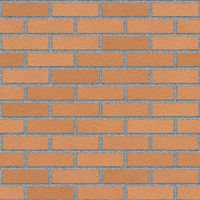
If you don't have this save my Brick Wall pattern.
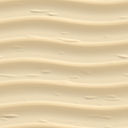
A wood pattern of your choice
If you don't have this save my Wood Pattern
An Edge Mask of Your Choice
I used 179InsatiableDreams. You can find this mask and more at http://insatiabledreams.net/Cat_s_Masks.html
Fonts - I used
Back to School
Chalk Dust
Catholic School Girls
A Tube of your choice
I am using the wonderful art of Ismael Rac used with a license.
You can get a license to use his work from www.store.xeracx.net
Ok we are ready to start.
REMEMBER TO SAVE OFTEN
Step 1:
Open your tube and pattern fills in PSP. Place your mask in your PSP Masks folder.
Open a new image 500 x 500 transparent image
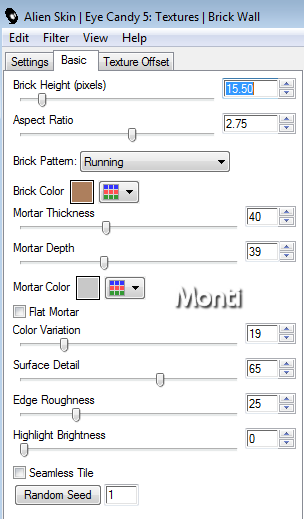
Add a new Raster layer and apply Eye Candy 5 Textures - Brick Wall with the following settings - If you don't have Eye Candy 5 set your Foreground to my Brick Wall pattern and flood fill the new layer with this pattern, size 100. Feel free to change the brick colour to one of your choice.
Apply the mask with Source Luminance - Fit to Canvas and Hide all Mask checked.
Right click on the mask layer and merge group.
Rename this layer Brick Wall.
Step 2:
Open a new 300 x 200 transparent image and flood fill with the wood pattern.
Selections - Select all - Float - Selections - Modify - Contract by 13. Flood fill with black.
Selections Invert and add the following Inner Bevel.

Deselect.
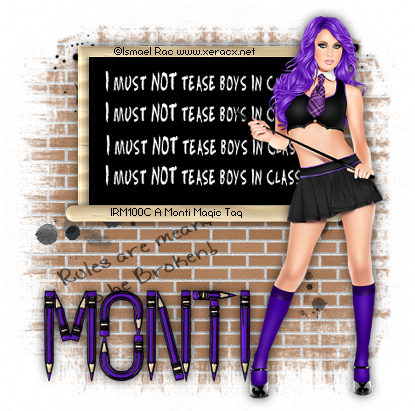
Copy and paste this as a new layer on top of your brick wall. Move towards the top. See my tag for example.
Change your background to the Wood pattern and foreground to Null.
Activate your presets shape, rectangle and draw a thin rectangle just a bit wider than the blackboard to use as your chalk tray. Apply the same Inner Bevel.
Right click on this layer in the layer palette and choose merge down.
Apply the following Drop Shadow
Vertical: 0
Horizontal: 0
Opacity: 75
Blur: 17
Colour: Black
Rename this layer Blackboard.
Step 3:
Click on the Brick Wall layer to activate it. Add a new Raster layer called Brushes and add some Splatter brushes of your choice. I set the size to between 50 and 90 pixels.
Activate your text tool - size 20 - Foreground: Null - Background: Black - Vector checked. Font - Catholic School Girls. Type
"Rules are meant
to be Broken!"
Click apply and rotate slightly. Convert to raster layer and lower the opacity to about 50%.
Step 4:
Activate the Blackboard layer and set your foreground and background to white.
Change the font to Chalk Dust or one of your choice - Size 16 - Vector checked. Type
"I must NOT tease boys in class!". Use your nodes to push it to fit and
Convert to raster layer. Duplicate it 3 times and move them under each other. See my tag for example.
Activate your top layer and copy and paste your tube as a new layer, resize if needed. Apply the same Drop Shadow we used earlier.
Step 5:
Change your font to Back To School - Foreground: Black - Background: colour from your tube - Size: 100 - Vector: checked. Type your name.
Use your nodes to stretch or push the text to the right size. Convert to raster layer.
Add a new raster layer and move under the text layer. Set your foreground to the Wood Pattern fill we used earlier.
Select your paintbrush size 1 and zoom in on your image. Colour all the gaps in the text pencils, being careful not to go over the black lines.
Right click on the name layer and merge down.
Apply the same inner bevel and drop shadow we used earlier.
Resize as neccessary
Add the artists credits and save.
No comments:
Post a Comment